A picture-perfect table setting just wouldn’t be complete without some fresh blooms! In this DIY tutorial, Becky of Blush and Bloom + Alyssa of Random Acts of Pastel have teamed up to show you how to craft a dreamy focal point for your tablescape.
Alyssa says, ‘I’ve been a huge fan of her work for ages now, and it was so amazing to finally get the chance to work together on our Pastel Christmas Par-tea shoot last month. I was so impressed by the whimsical floral designs she created for the set that I begged her to share some of her pastel magic wisdom, and that’s how this centre piece arrangement tutorial came to be!’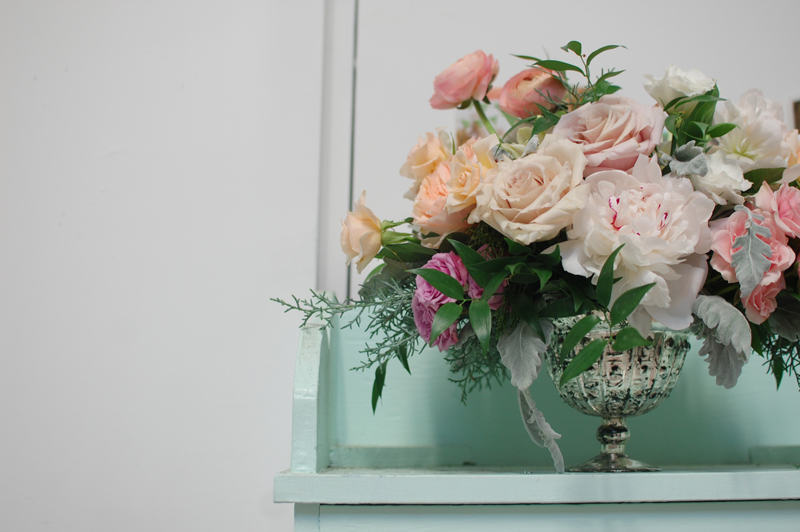
WHAT YOU’LL NEED
A vessel (preferably silver or gold) | Pastel blooms and festive greenery | Clear or green florist tape | Florist pruners or secateurs
WHAT TO DO
- Choose your vase or ceramic container
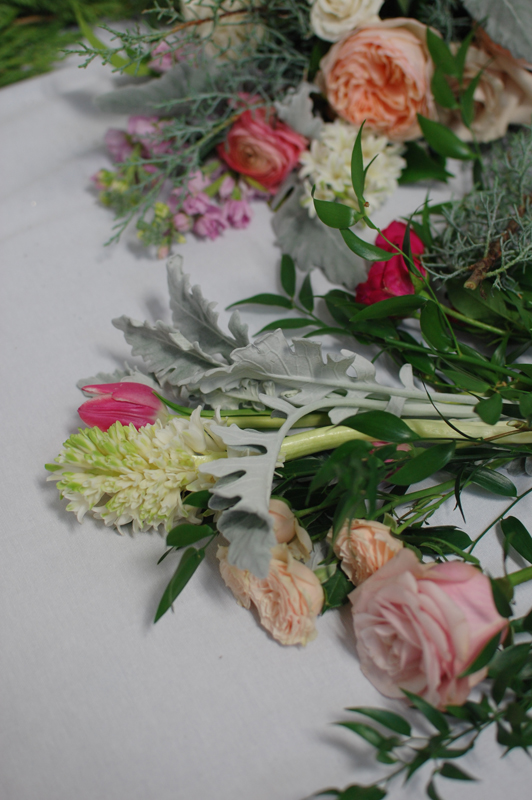
- Pick your flowers. Try to have assorted types of foliage, at least a few stems of a big, fluffy blooms, a few filler varieties all in whatever palette you prefer.
- Create a grid with clear or green florist tape across the top of the vase, allowing the tape to come down over the sides to keep it secure. We did 3x rows each way. Fill with water, nice and full!
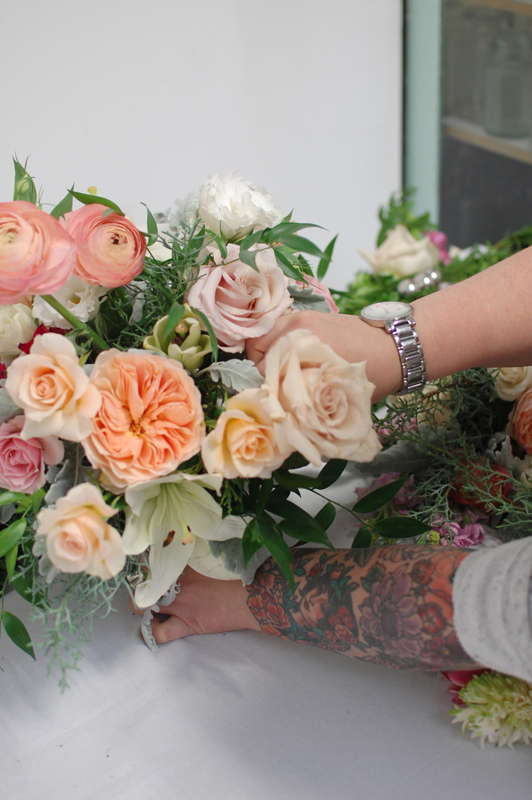
- Start by adding foliage (we chose dusty miller) and other greenery to fill some of the holes in the grid, forming a base to hold up your flowers.
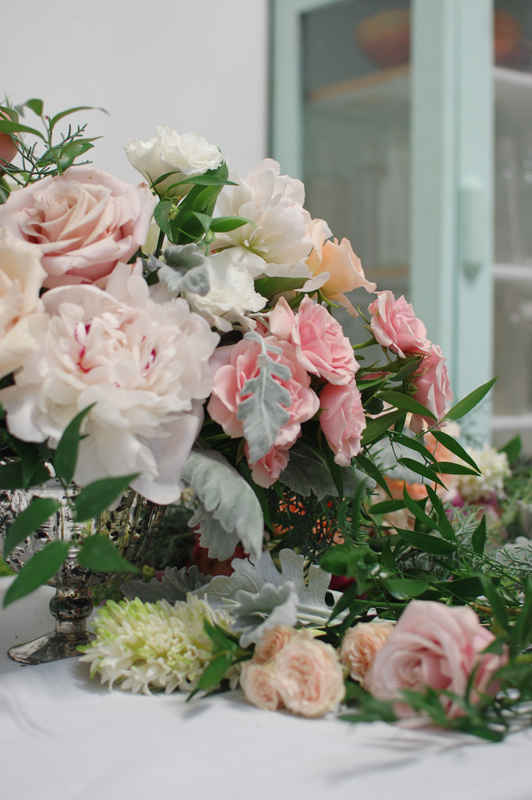
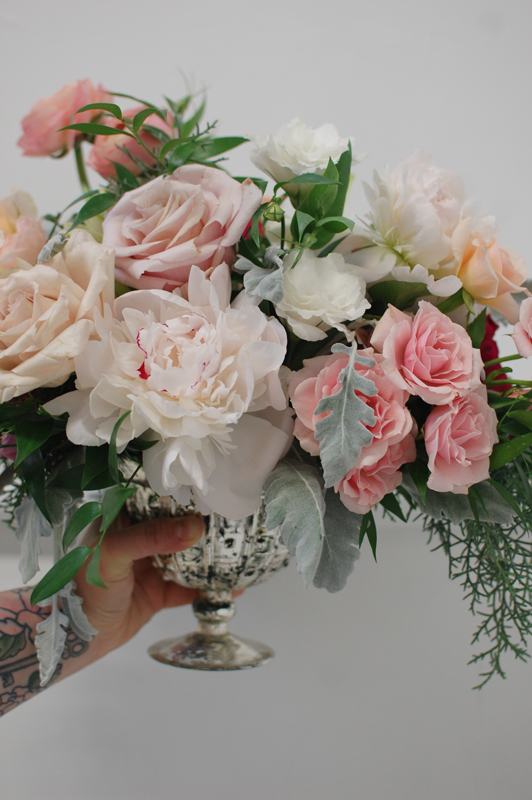
- Begin with the biggest bloom that will be in the middle, or focal point of your creation. Make sure to keep this variety in prime real estate!
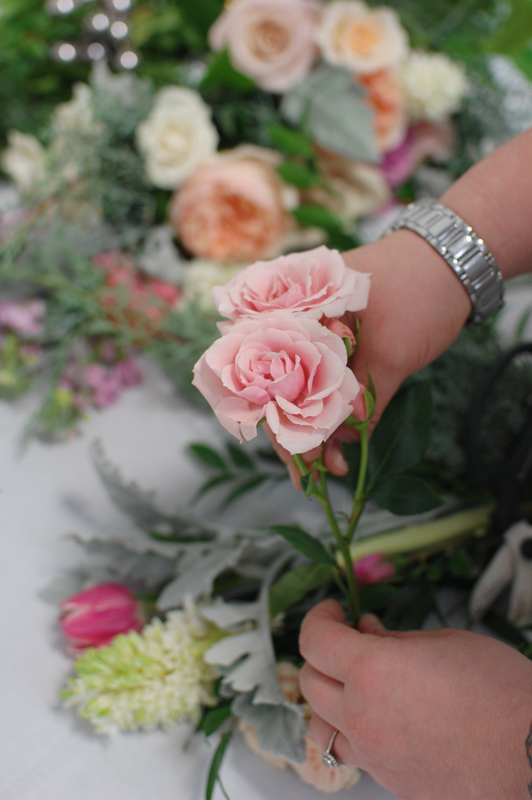
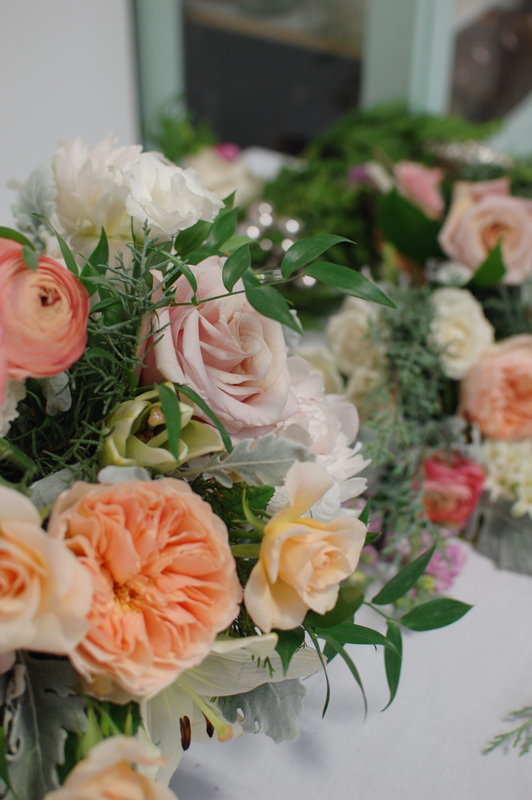
- Slowly begin filling up the space surrounding the large, fluffy blooms with your filler flowers. We chose spray roses and garden roses, and a few ranunculus. Your arrangement should be getting full and the stems should not be wobbly! If they are, create more stability with foliage or more flowers.
- Remember when building to cut stems on an angle with florist pruners or secateurs, and make sure you get them into water within five seconds, so think fast!
- Lastly, look over your arrangement from above, below and all angles to make sure there are no holes or negative gaps/spaces that should have product, or conceal any tape that might be exposed. Remove any damaged petals or leaves, and take that arrangement to the table!
AND THEN
Be sure to fill with water daily over the sink to ensure all flowers are getting enough water. Then go on and enjoy your new creation!
Floral Centre Piece