This trusty Vanilla Sponge by Sweetpea Darlingheart is a go-to classic, providing the perfect base for a bunch of fun cake creations!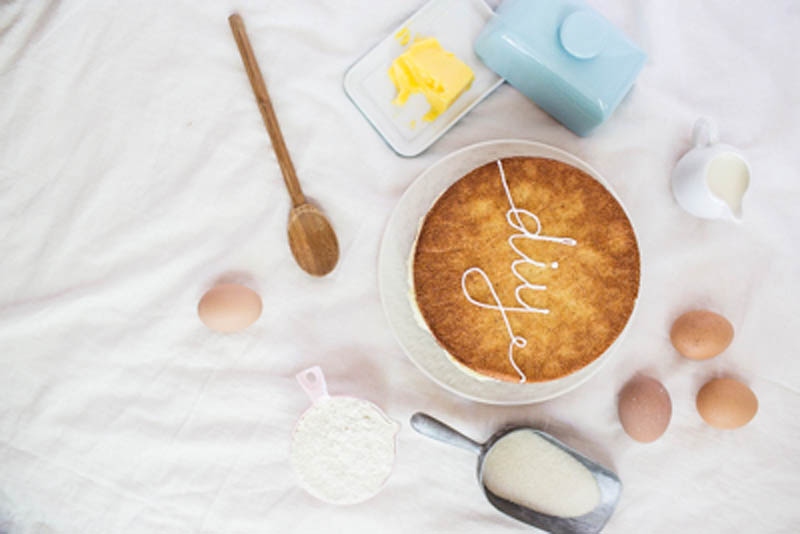
Time
1 hour
Suitable for
Ages 12+
What you’ll need
480g plain cake flour | 4 teaspoons baking powder | a pinch of salt | 480g caster sugar | 80g unsalted butter, softened | 4 eggs | 240ml buttermilk | 160ml grape seed oil | 4 teaspoons vanilla paste
What to do
- Pre-heat oven to 160° (fan forced) or 180° (conventional). Grease and line 3 x 21cm round springform cake tins with baking paper. If you only have 20cm or 22cm tins, they will be fine. Just go with the flow, this is going to be easy. Likewise, if you only have two tins, no worries – you can make a two-layered cake! You really need an electric mixer for this recipe. In a medium bowl, measure out the flour, baking powder and salt. Give it a light whisk to make sure the baking powder is mixed through evenly. Measure out your buttermilk into a little jug. Pop the softened butter and the sugar into the bowl of your electric mixer, which should be fitted with the paddle attachment. Beat on medium speed until the mixture resembles sand. Now, while the mixer is going, drizzle in the grape seed oil. Turn the mixer up to high and beat for several minutes until the mixture has whitened and grown in volume. While the mixer is still going, add your eggs one at a time and then the vanilla paste. Continue to beat for several minutes more.
- Now that your butter, sugar, oil and egg mix is looking amazing, turn the mixer off, then add in half the flour. Mix on low speed until it is just smooth. Then add in the buttermilk, and mix on slow (watch out for splashing!) until it is just combined. Get your spatula in there, and give the bowl a scrape, right to the bottom, just to check there is no sugar stuck down there. Then add in the last of your flour and mix on slow until just smooth.
- After giving the bowl one final scrape down, and gently folding through the mixture one last time, divide the bowl’s contents evenly into the three tins. Give the tins a little wobble to flatten out the mixture. Lick the spatula, go on, you really must.
- Pop those tins of deliciousness into the oven, and bake for 35-40 mins, or until golden on top and coming away ever so slightly from the sides. Test the cakes with a skewer, and make sure the skewer comes out clean. If there’s any mixture on the skewer then give it another 4 or 5 minutes in the oven.
- Remove the cakes from the oven and let them rest in their tins for 5 minutes before releasing the springform and turning them out onto a wire rack to cool completely. If you turn them out upside down (that is, so they are resting on their tops), it will help to flatten any doming which will make your cake easier to layer. Having said that, this recipe produces a fairly flat cake, perfect for layering and topping with something tasty. Once the cakes have fully cooled, you can cut off the tops if you want to stack a perfectly flat cake like the ones you see in magazines (ahem).
Food Styling + Recipe Development Sweetpea Darlingheart | Photography Love Katie + Sarah Photography
Vanilla Sponge Cake