Fun Stuff > Tips + Tricks
How to Set up a Mimosa Bar
Tuesday, September 29th, 2015 | By Rosalie Iannelli
When warm weather beckons, what better way to provide refreshment for your guests than a sparkling mimosa, from a DIY mimosa bar? Not only does a mimosa bar look beautiful, it’s also a great way to add a point of interest at your next do. Your guests will love the opportunity to put together their own mimosa creations, and you’ll love not having to worry about whether your guests all have a drink—they can simply serve themselves! Below are a few essential components of a DIY mimosa bar to help you on your way.
1. Add some sparkle
Be sure to provide champagne, prosecco or cava to add some sparkle. After all, what’s a mimosa bar without some bubbly?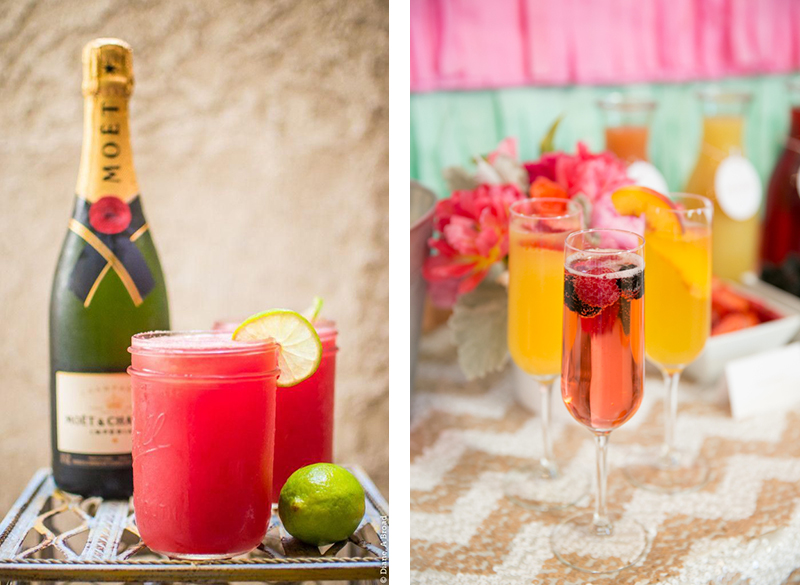 Left: via Diane Abroad | Right: via Style Me Pretty
2. Juicy-licious
Get a few different juices together for your guest to choose from. We recommend orange, guava, pineapple and tropical mix for a vibrant variety of flavours and colours.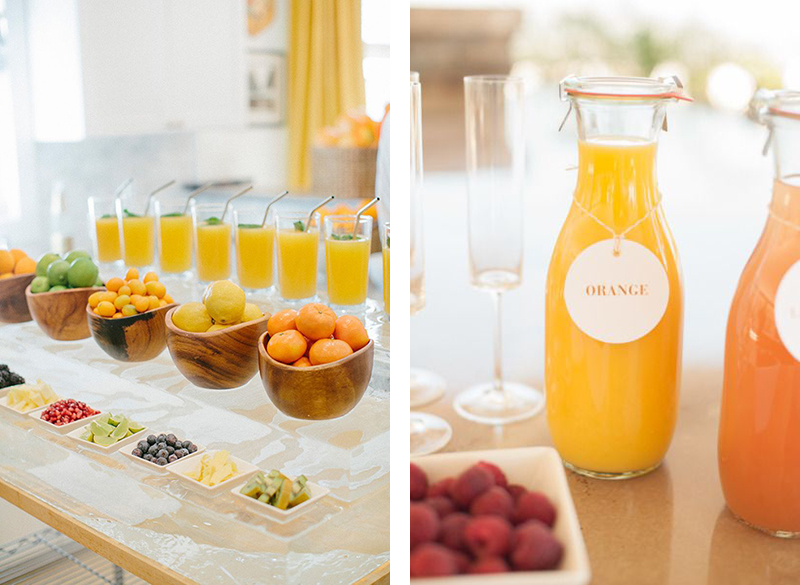 Left: via Style Me Pretty | Right: via Style Me Pretty
3. Get fruity!
Have a range of different fruits available. Strawberries, orange, limes, berries and peaches all work with the mimosa taste perfectly and will add an extra bite.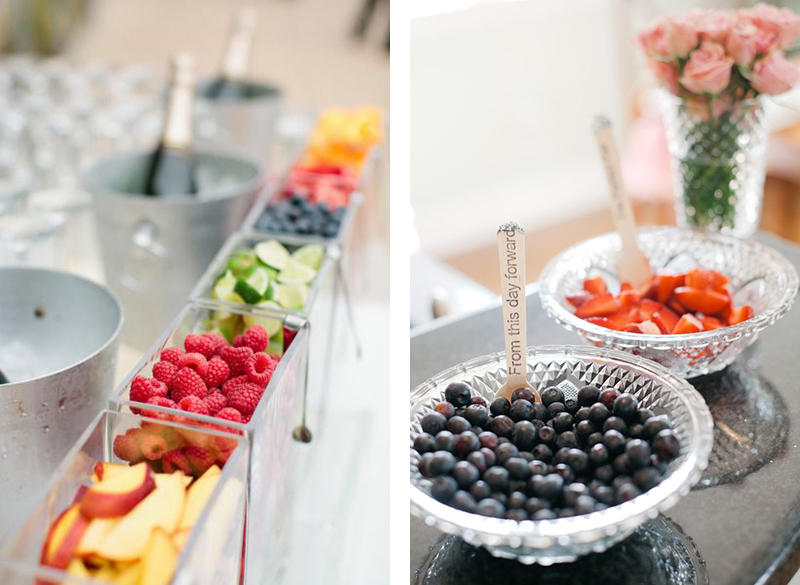 Left: via Style Me Pretty | Right: via Style Me Pretty
4. Look after the designated drivers!
To provide an alternative for those wanting a non-alcoholic drink, make sure you have a bottle or two of soda water on hand.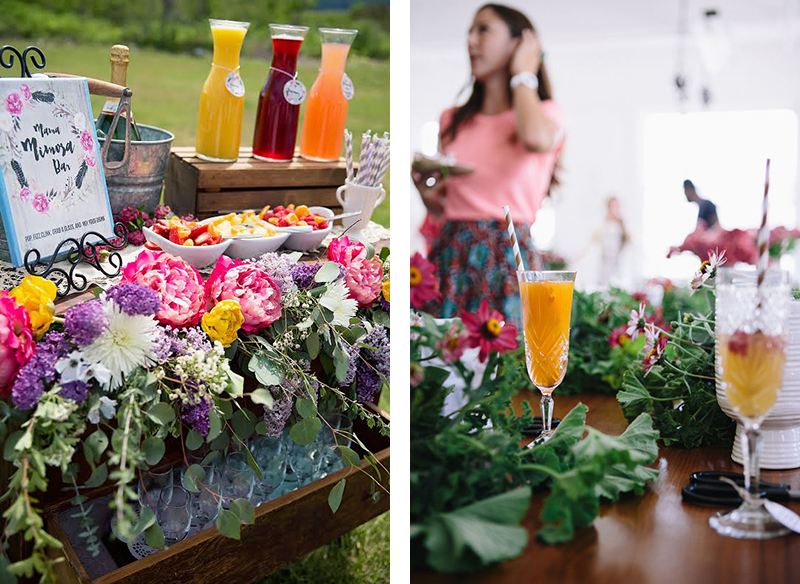 Left: via Catch My Party | Right: via Design Love Fest
5. Go with pretty glassware
Decorate your bar with pretty glasses, fun straws and stirrers and make fun little labels for each ingredient. It’s always nice to dress the bar up, use glass pitchers for the juices and pretty serving dishes for the fruits.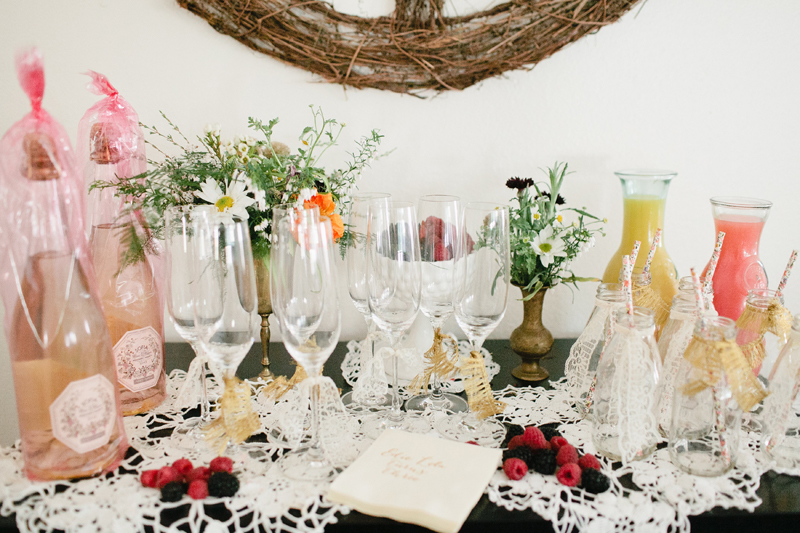 Edie’s 3rd Birthday, photography by Megan Welker
6. Ice cold!
Make sure you have ice on hand to keep everything nice and refreshingly cold!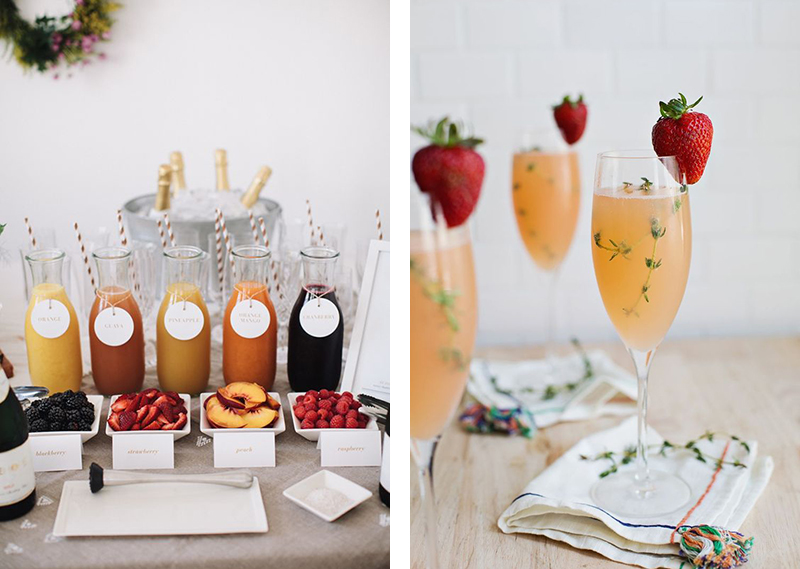 Left: via Design Love Fest | Right: via A Beautiful Mess
